Last year I moved from Australia to Sweden, writing about some differences between the two countries on my blog Halvsvensk. Here in Sweden the winter is more extreme: longer, colder, darker. To keep my home mysig (cozy) I wanted to grow some indoor plants. A coworker mentioned Ikea's Krydda hydroponic unit, meant for growing edible crops indoors, and I got hooked on the idea. This post describes my experience getting the unit and growing my first crop.
The Krydda unit
The unit comes in three sizes, all with the same floor footprint but in one, two or three levels. I picked the three-level unit, wanting to see if I could become self-sufficient at growing my own salad greens, and went and picked one up from Ikea.

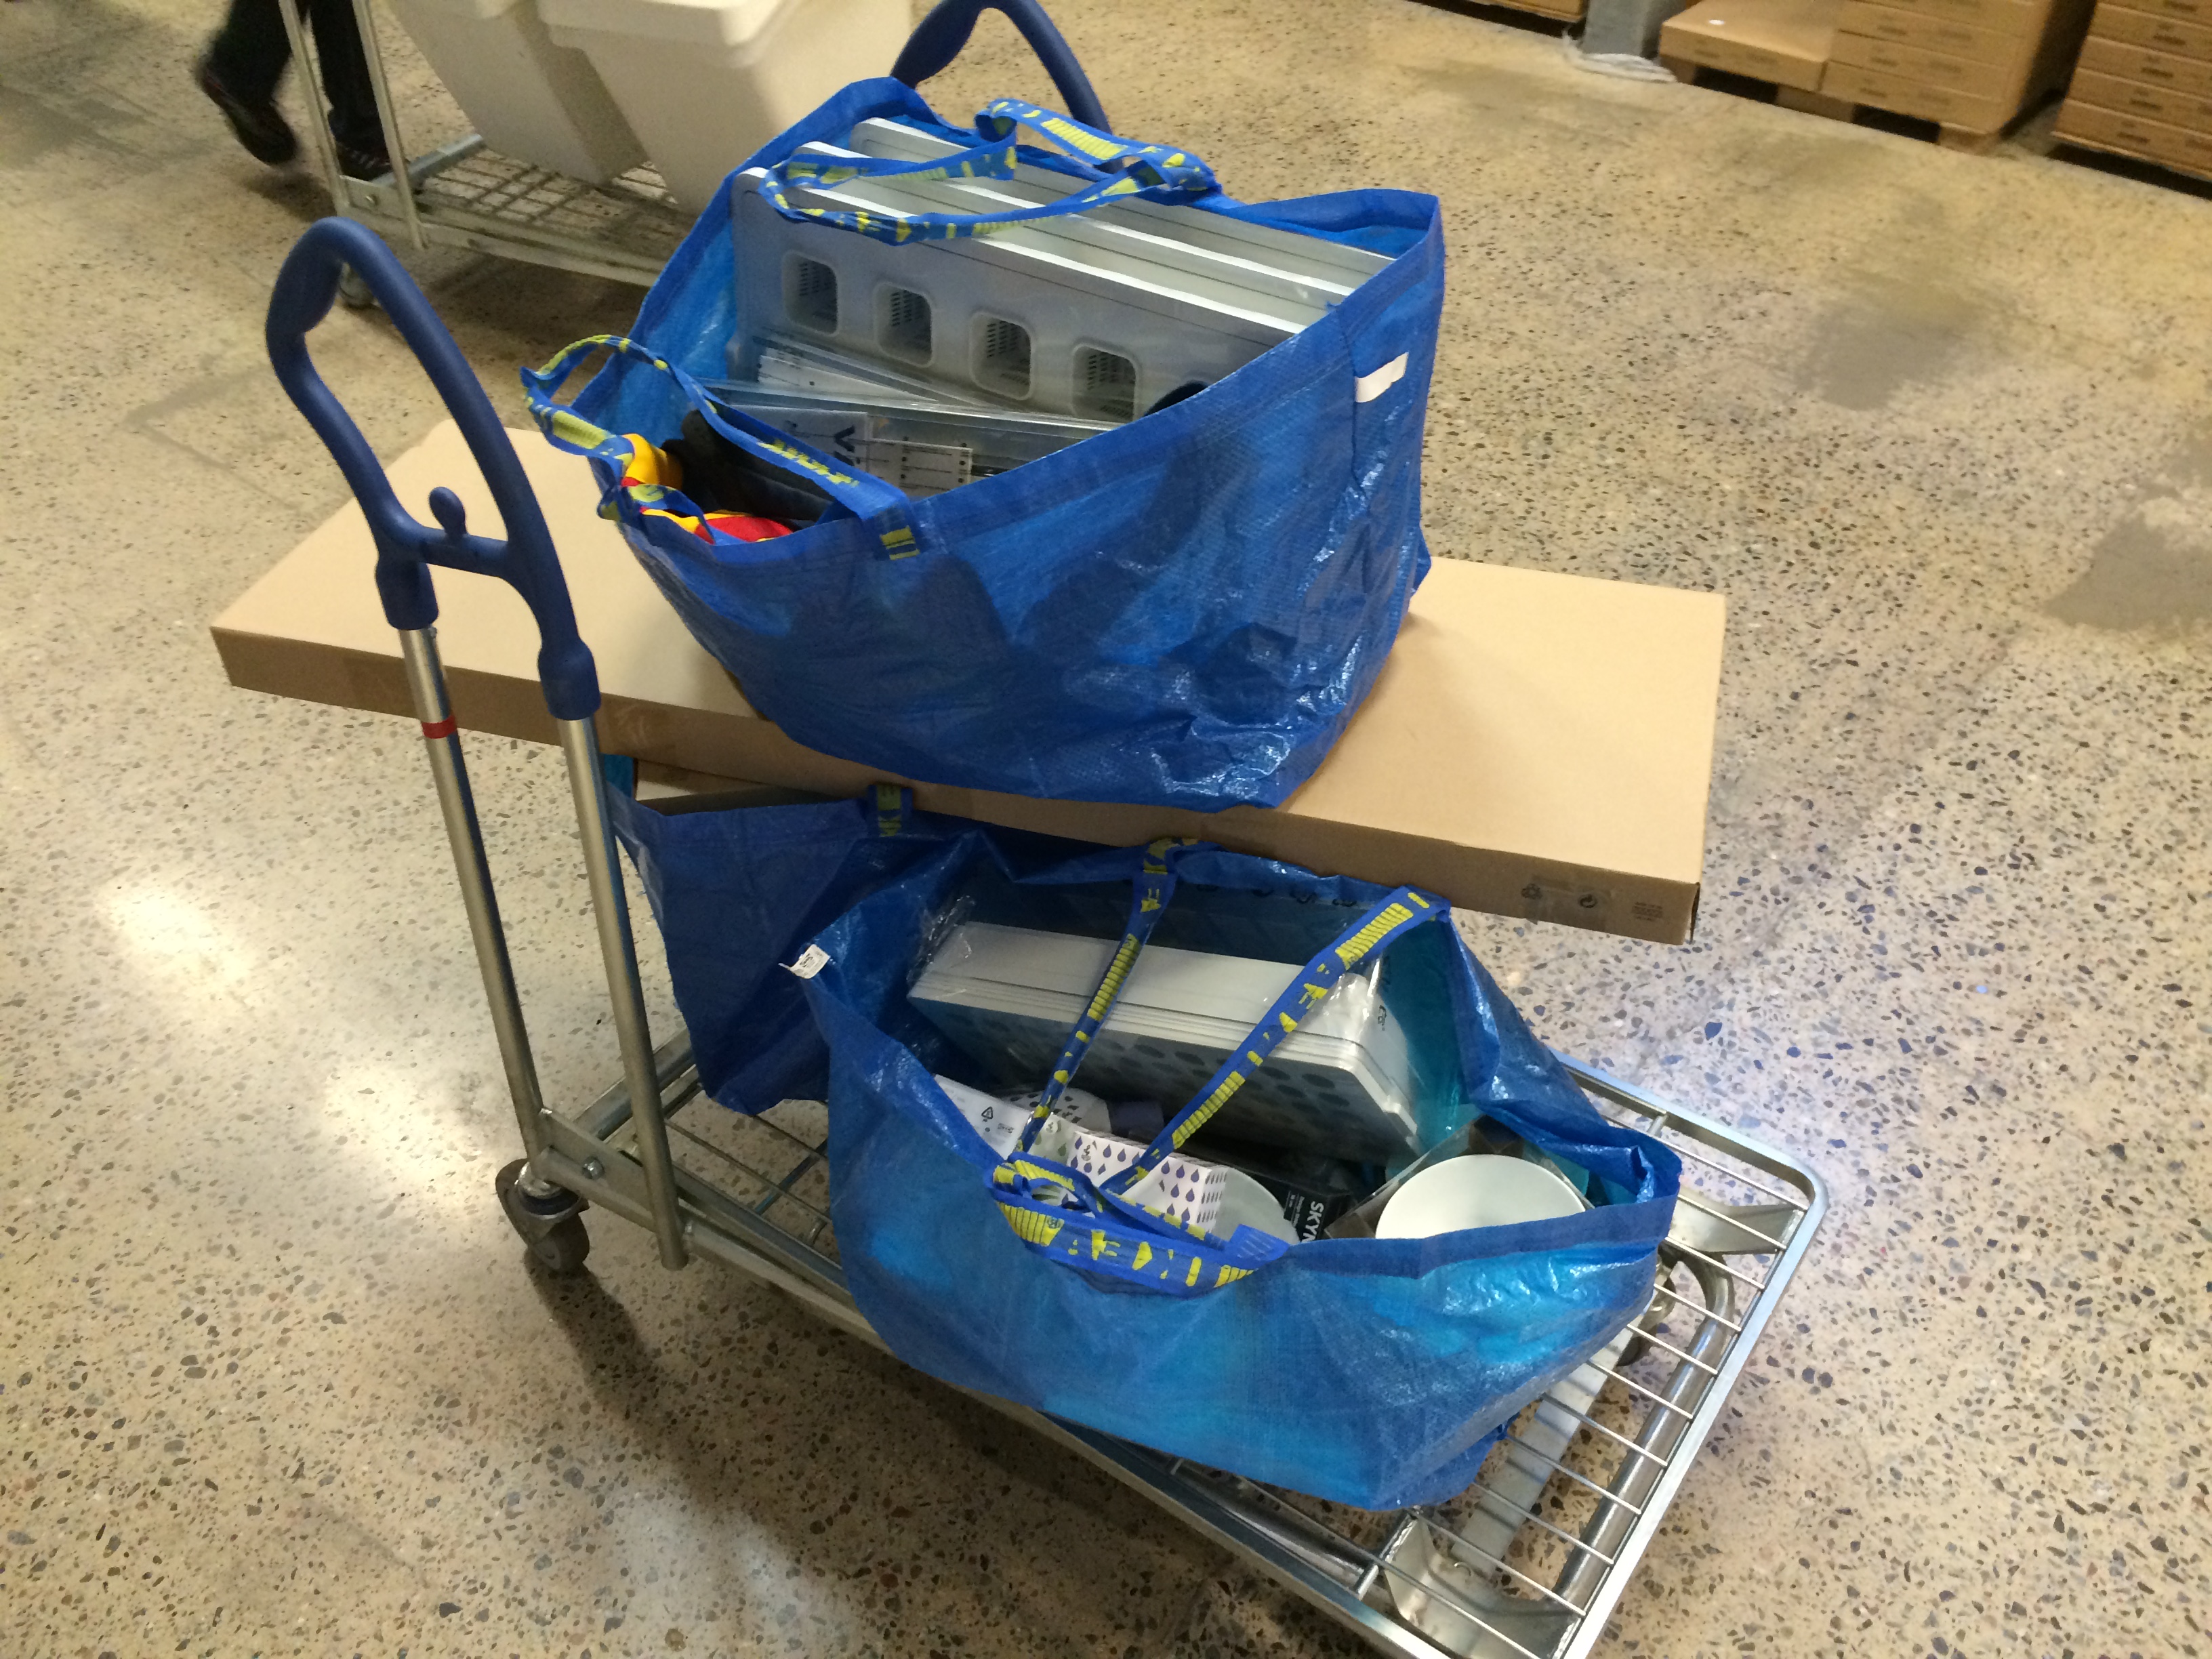
A cart laden with goodies for growing.
The 3-layer Krydda unit costs SEK 796, but the LED grow lights cost SEK 499 per layer, and you need a SEK 79 tray for each layer too. Add a seed incubator, a pumice growing medium, seeds, seed plugs and nutrient solution, and you get to about SEK 2800 (~$USD 330). Still pretty reasonable. I grabbed this stuff and dragged it home to set up. The ongoing cost of running the lights is very low, since the LEDs are very efficient.
Setup and sowing
Putting it together was pretty easy, although for the first time I encountered a mistake in the Ikea design, where the holes for a cable tray under the whole unit did not support the screws they provided. This was not a big deal. The cable tray still worked, and keeps the transformers for the LEDs off the ground, presumably to prevent a fire if they should overheat.
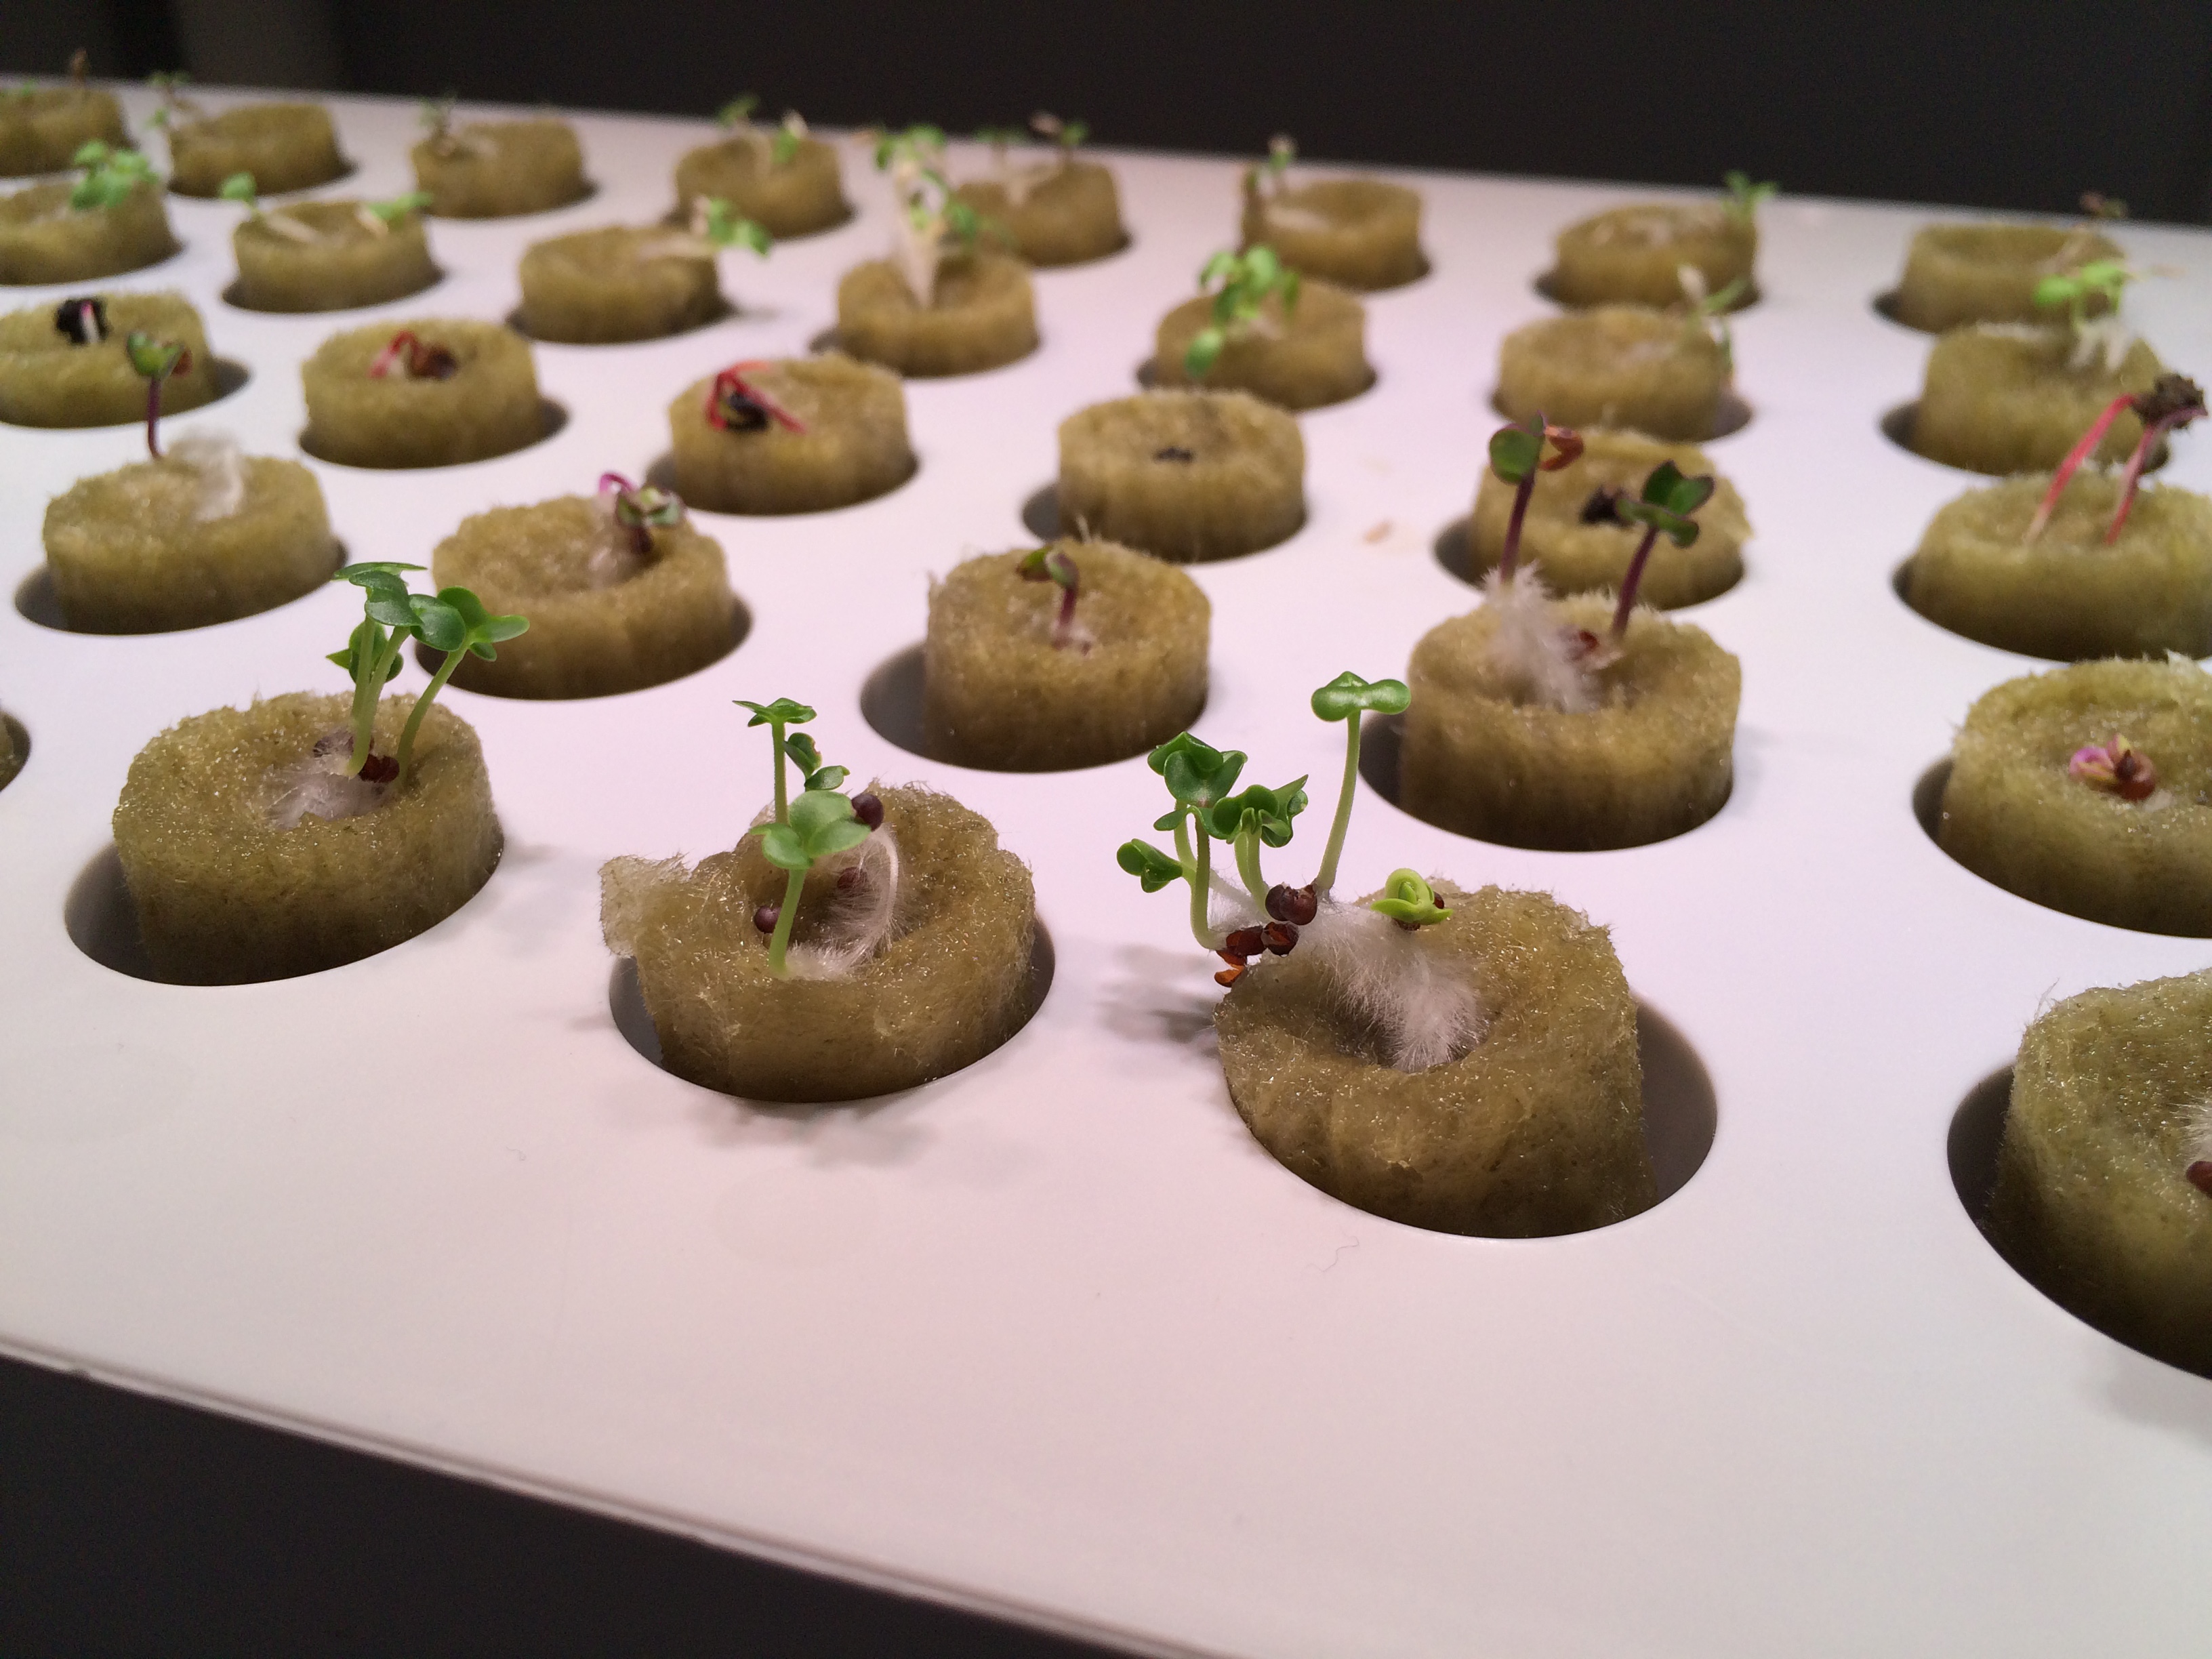
I decided to begin with five types of salad greens and see how they would go. You soak seed plugs in water, then drop one or two seeds in each seed plug and put them in a special seed tray. The seed tray is filled with water underneath, and has a protective cover above it. I put these under an LED grow light and in a week, got the small shoots you see below.

After one week: shoots are ready to transplant
At this stage, three of the five seed types were doing far better than the rest. The seed tray holds 50 seed plugs, and the growing unit can handle 3 x 15 plants, so I didn't need all the shoots to succeed. I planted the shoots over several days, starting with the most successful ones and giving the others a little more time.
Planting
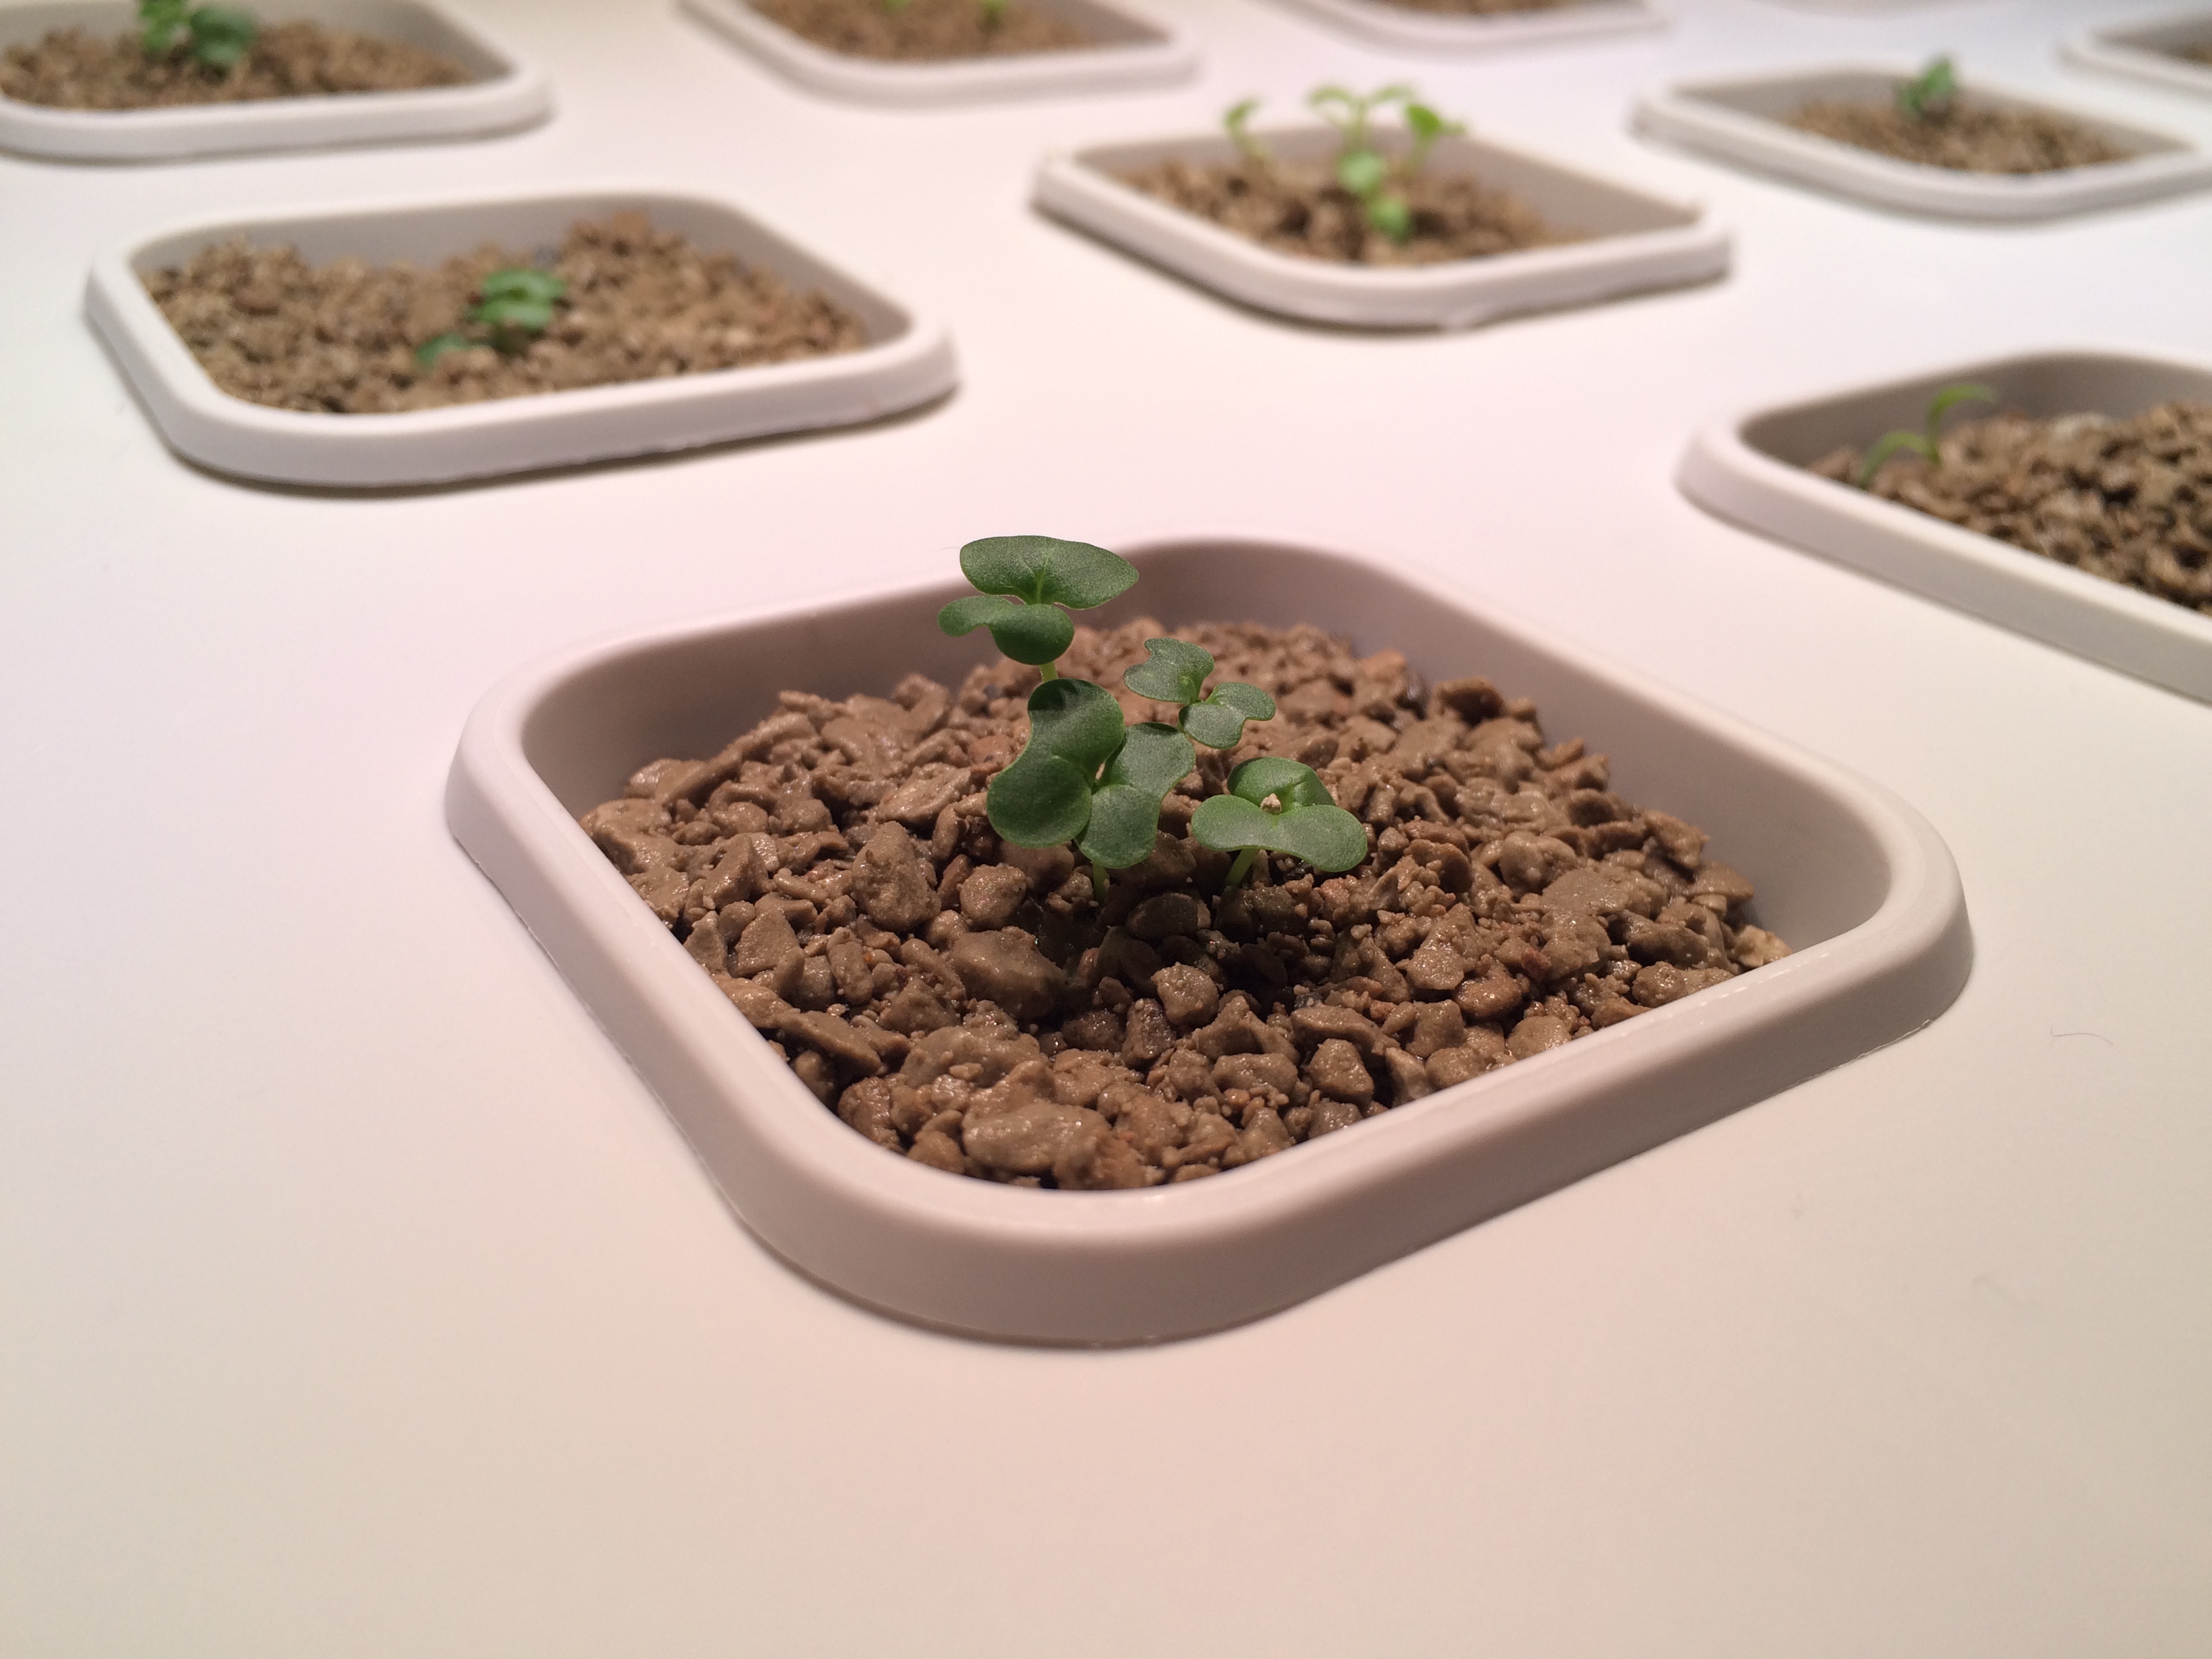
The grow trays have 15 slots for plants, each being a small basket that you fill with pumice stones. The stones are meant to cover the seed plug completely. It's very easy to dislodge the seedling at this stage, since they're extremely fragile. But all but one survived the transfer to growing baskets.
 After two weeks: tiny seedlings are growing
I bought a standard electric plug timer, giving the plants 16 hours of light each day. The nutrient solution needs to be refilled in each tray about every 10 days, which is great for someone like me, who can kill plants with both love and neglect. It has an easy water level gauge which tells you at a glance how far they are from needing a refill.
Crops and harvesting
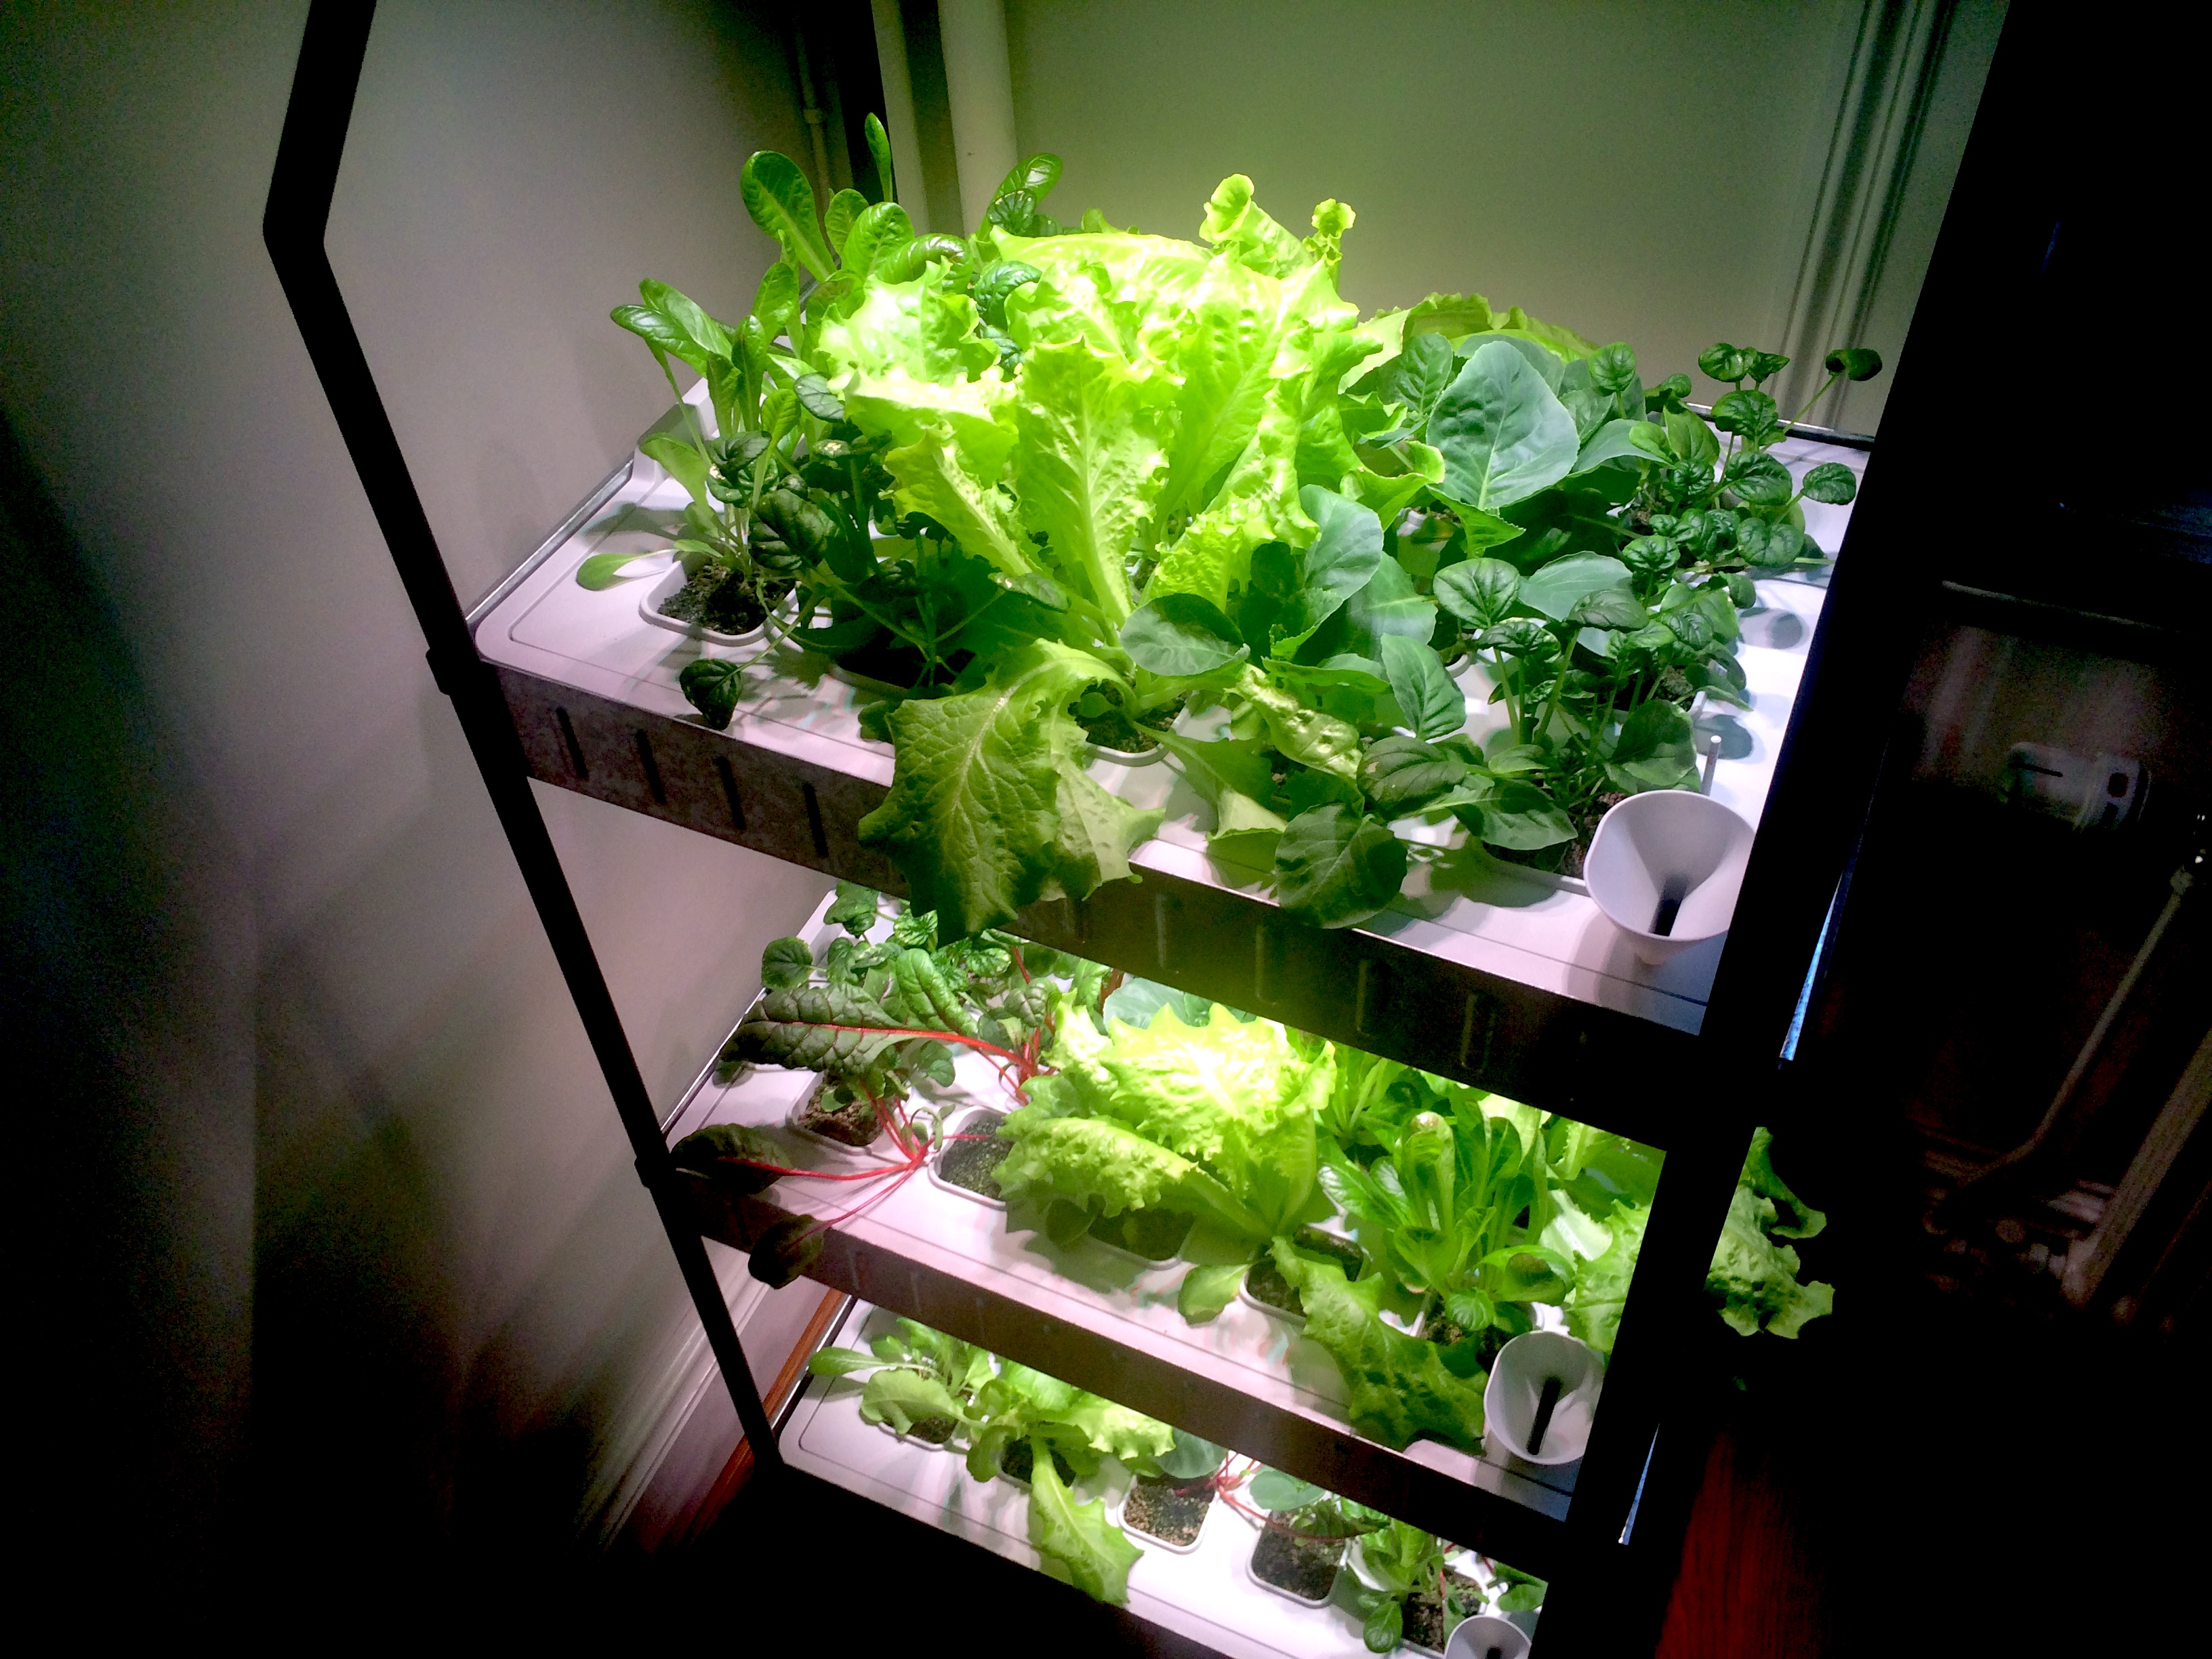
About a month in, the crop was getting big enough that I could start to harvest them. As you can see, I planted a mixed range in each layer. This was probably not a good decision, because each plant grew at different rates, and this meant that the faster growing plants crowded out the slower ones. Three of the plant types grew easily, but two struggled.
 After one month: reaching early harvest stage
I began harvesting a few leaves from the larger plants. The flavour was not strong, especially of the lighter greens. They were also extremely soft compared to supermarket greens. I decided to leave them a little longer to see if they would become stronger and tougher as older plants. Given the length of time per crop, I would probably need five of these units to become self-sufficient for salad greens, more than I could ever fit in my apartment.
Issues
Mould and algae. A few of my plants had their stones become reddish, perhaps some kind of algae. Some others grew a small mould layer on top of their pumice stones. In both cases, it was less successful plants that developed this. In my next crop, I'll try one of two approaches: either put a mould-preventing material on the top layer of the next crop, or try to transplant some moss from the nearby park to grow on the top layer instead.
Not all plants thrive. Some plant varieties seem much more suited to being grown this way than others. It's possible that they need different hours of light per day, and my 16 hour day cycle might not have been ideal. In future crops, I'll focus on those that grew well and dedicate a whole tray to each crop. It might be less visually interesting but they should grow better.
Insects. I was initially worried about insects coming and destroying the entire harvest, which has happened to me with outdoor plants. I needn't have worried, I had no such problems.
Overall
I've really enjoyed growing my own crop, I recommend it! It's satisfying to see your plants lit up each morning and evening, to watch them grow day by day, and to not really have to worry about taking care of them. Ikea has made this stuff easy and not too expensive. Visually, although the units aren't especially pretty, the plants more than make up for it once they begin growing. I'm planning to add another unit or two for my apartment so that I can have more crops on rotation, and try to grow a mix of herbs and greens over winter.
Have any questions or tips for doing this better? Leave a comment or shoot me an email.